Table of Contents
Neith
“Neith was a goddess of war and of hunting and had as her symbol two crossed arrows over a shield. This symbol was displayed on top of her head in Egyptian art. In her form as a goddess of war, she was said to make the weapons of warriors and to guard their bodies when they died.
Her name also may be interpreted as meaning water. In time, this meaning led to her being considered as the personification of the primordial waters of creation. She is identified as a great mother goddess in this role as a creator.
Neith's symbol also bore a resemblance to a loom, and so later in the history of Egyptian myths, she also became goddess of weaving, and gained this version of her name, Neith, which means weaver. At this time her role as a creator changed from being water-based to that of the deity who wove all of the world and existence into being on her loom.” (source: Wikipedia)
Inspiration and Concept
 The description above is a great source of inspiration to create a basic image of a character. The many functions this goddes fullfills even makes it hard to choose wich one i like the most! (maybe i'll make different versions…) Anyway, the concept was to transform the goddes Neith into a semi-normal girl (since when do normal girls exist?).
On the subject of weaponry: Since the description mentions a symbol with two crossed arrows, the main weaponry should consist of a bow and arrows. Some google browsing on female archers led me to this image. And since making concept art that looks better than some scribbled lines takes too much time, this image will serve as the official character concept (credits to 'meganrid').
Since it still is 'concept' art, the goal wasn't to recreate this picture as a 3dModel. The final model and the concept art will only have 'the big picture' in common.
Things i especially liked from the concept art, and wich will be recreated in the model are:
- the skirt
- the armoring and ropes around the legs
- the sashes
- the pointy things on the chest armor (no, i don't mean 'those' pointy things
)
Scene setup
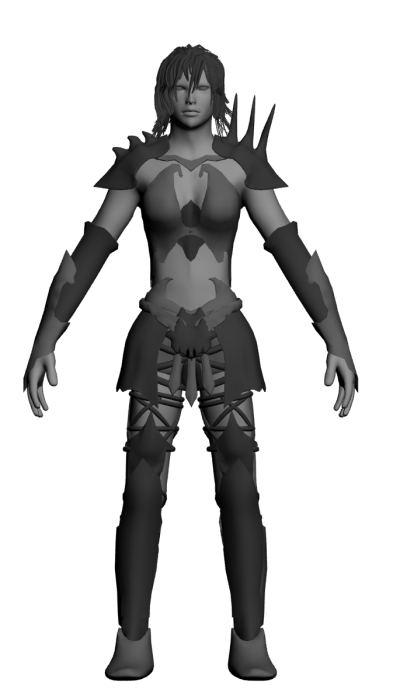
 The scene is set up in 3dsmax. I started using a female base-model, a ground plane and some basic mr-lighting. The purpose of the modeling part of the character creation is to become a fairly simple model wich will become more detailed by using displacement maps. On the image, i also modeled some basic hair to give her already some personality.
The different stages that will lead to the creation of Neith are:
- Modeling a low-poly armor
- Creation of displacement maps (by sculpting)
- Creation of diffuse and specular maps
- Rigging
- Posing/Animation
Modeling a low poly armor
The method i follow for this kind of modeling involves a technique called 'edge extrusion'. I start from a plane in one viewport (preferably the front one). Next, i extrude the edges (hence the name) to conform with the body and the shape of armor i have in mind. After this is finished in one viewport, i start wrapping the plane around the body (in the perspective viewport). All the armor-parts are created this way. (These include the chest-armor, shoulder protectors, shin- knee- and backknee-protectors and the skirt.
Next, some accessories are added: Ropes, sashes, belts, emblems and a necklage.
Finally, i added some basic grey materials to the different parts of the armor to get some nice contrast.
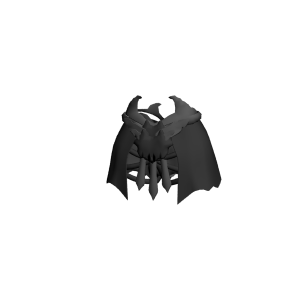
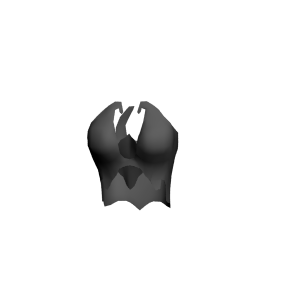
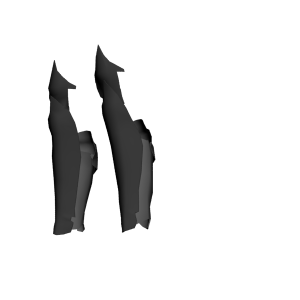
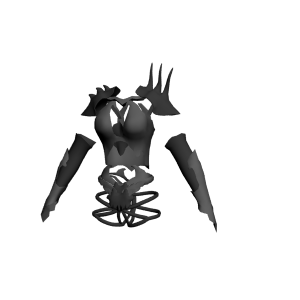
I just couldn't control it...
Before adding the displacement maps, i couldn't resist doing some very quick rigging. Actually, it's my first rigging ever done, so don't mind the little artifacts please 
Displacement mapping
Besides some tests, Neith is the first model i make using displacement maps. Creating these is done by sculpting the model. This i did in mudbox. I exported the displacement maps back to 3dsmax to make some renders of the result. Unfortunately, a lot of artifacts occured, so i remapped Neith, resculpted her in mudbox and tried again. The results are a little better but still, artifacts occure.
These renders show the progress so far. Notice the fact that there are some artifacts and that some of the parts of the armor seem not to be displaced. (This second fact occures simply because these parts contained so many artifacts that i decided not to render them 
to be continued…
Once the displacement maps will be acceptable, i'm going to ad some color!
Still wondering what colors to use, i probably will precolor some concepts in photoshop…
In the mean time...
Currently, i am redoing some sculptwork, partially for practice, partially because i wasn't completely happy with the precious version, and partially because i realised that the model i sculpted on earlier was about 50 times smaller than it should be for mudbox to get a satisfying result. So here is the first 'revisited' part: the shinprotectors!
So here's the plan: i'll treat the shinprotectors as a testsubject and finish them completely, then i'll move on to the rest of the armor.

Imported the mudboxfile into max and extracted a displacement map (with this method). The result wasn't satisfying: everything was very blurred and most of it didn't appear, even after optimising search distances and the like. So i tried extracting a normal map… I think the combination of the two maps is what we need. Note that there are still some minor artifacts in the displacement map, but the good news is, i know why and i think i can easily fix it 
I did my first paintjob!
Still a bit glossy though…
(note: The scratches are there for purpose, they aren't artifacts)
edit: Reduced glossyness, added some more realistic lighting (a preset called 'late afternoon', which uses a hdr-image of a riverside to calculate lighting) and an ambient occlusion filter. Also changed the color of the jewel.
More sculpting!
“So you see, imagination needs moodling - long, inefficient, happy idling, dawdling and puttering.”


